Creating a playlist
It is very simple to create a playlist from the Ant Media Server dashboard by following a set of steps. So let's get started 🙂
VoD files
In order to create a playlist, we need to have a set of VoD files that will be used as playlist items. Therefore, as the first step, we will upload some VoD files to the Ant Media Server.
Login to your Ant Media Server Dashboard
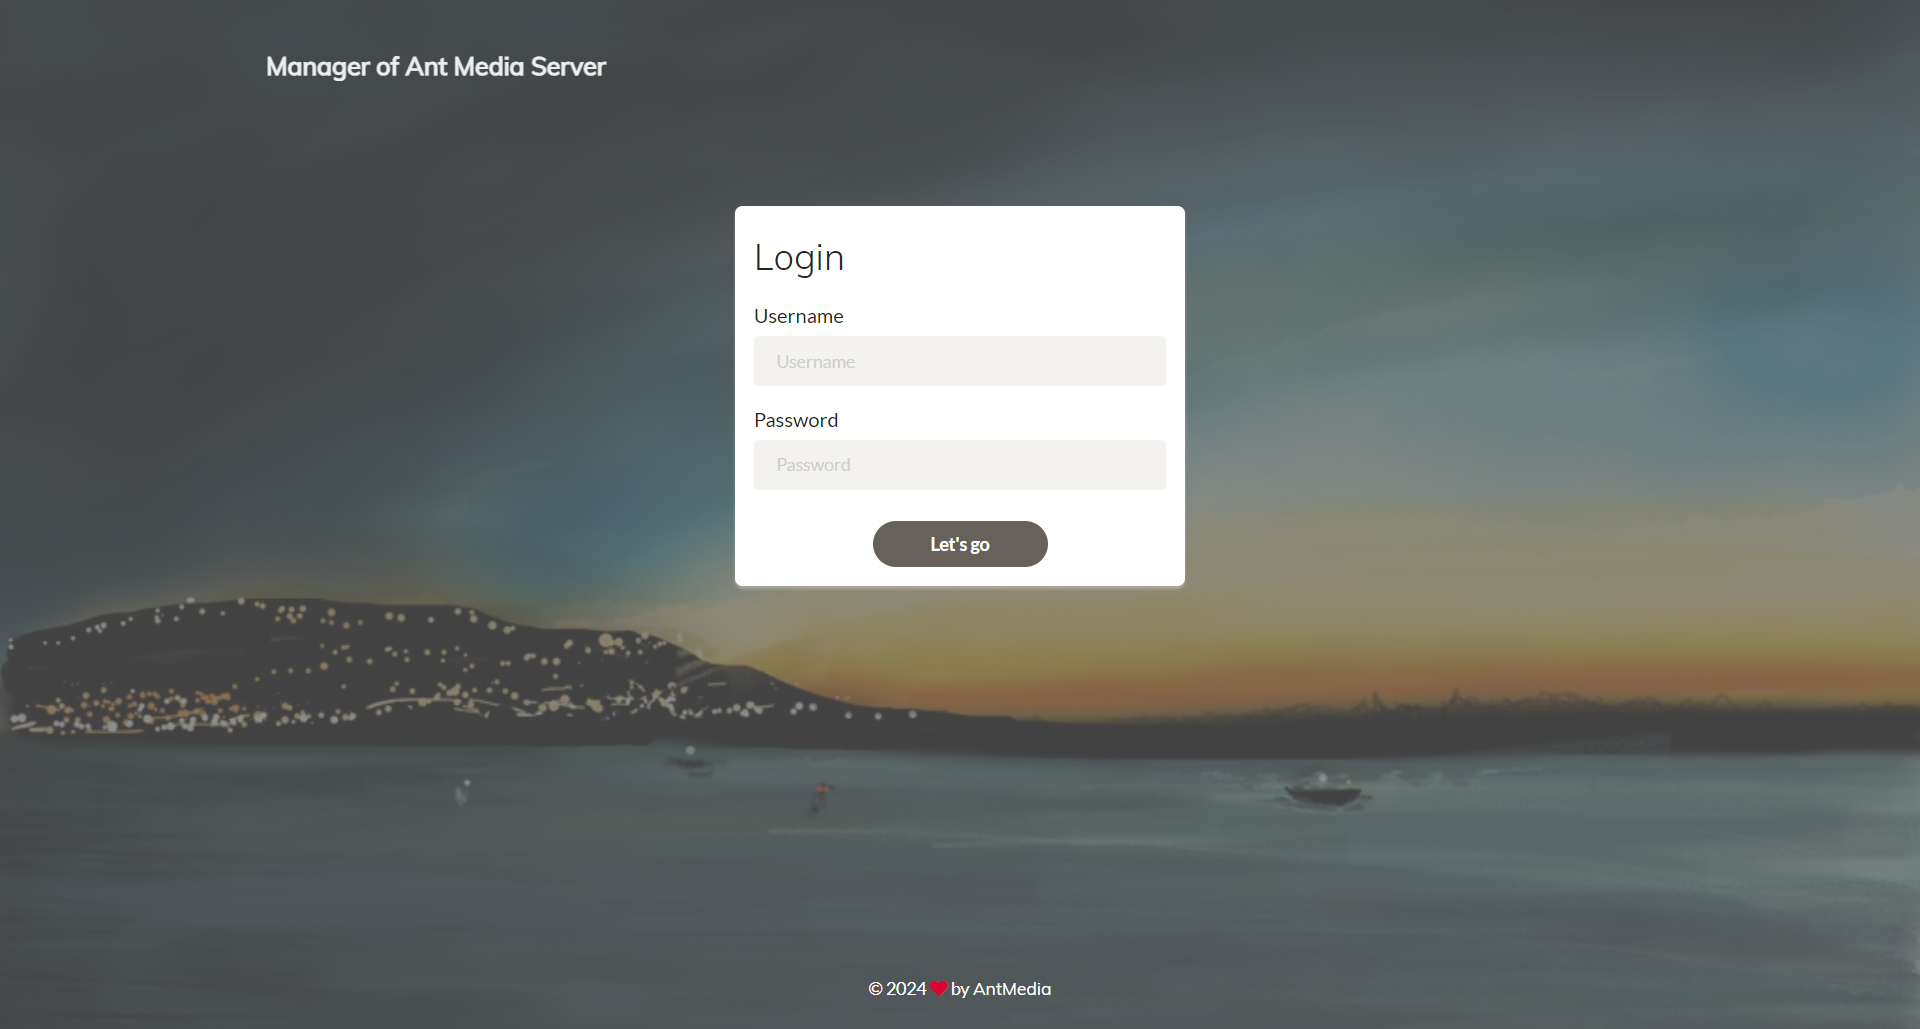
Login to your Ant Media Server Web Panel/dashboard. The url is like this: https://YOUR_ANT_MEDIA_SERVER:5443/
Accessing the Application
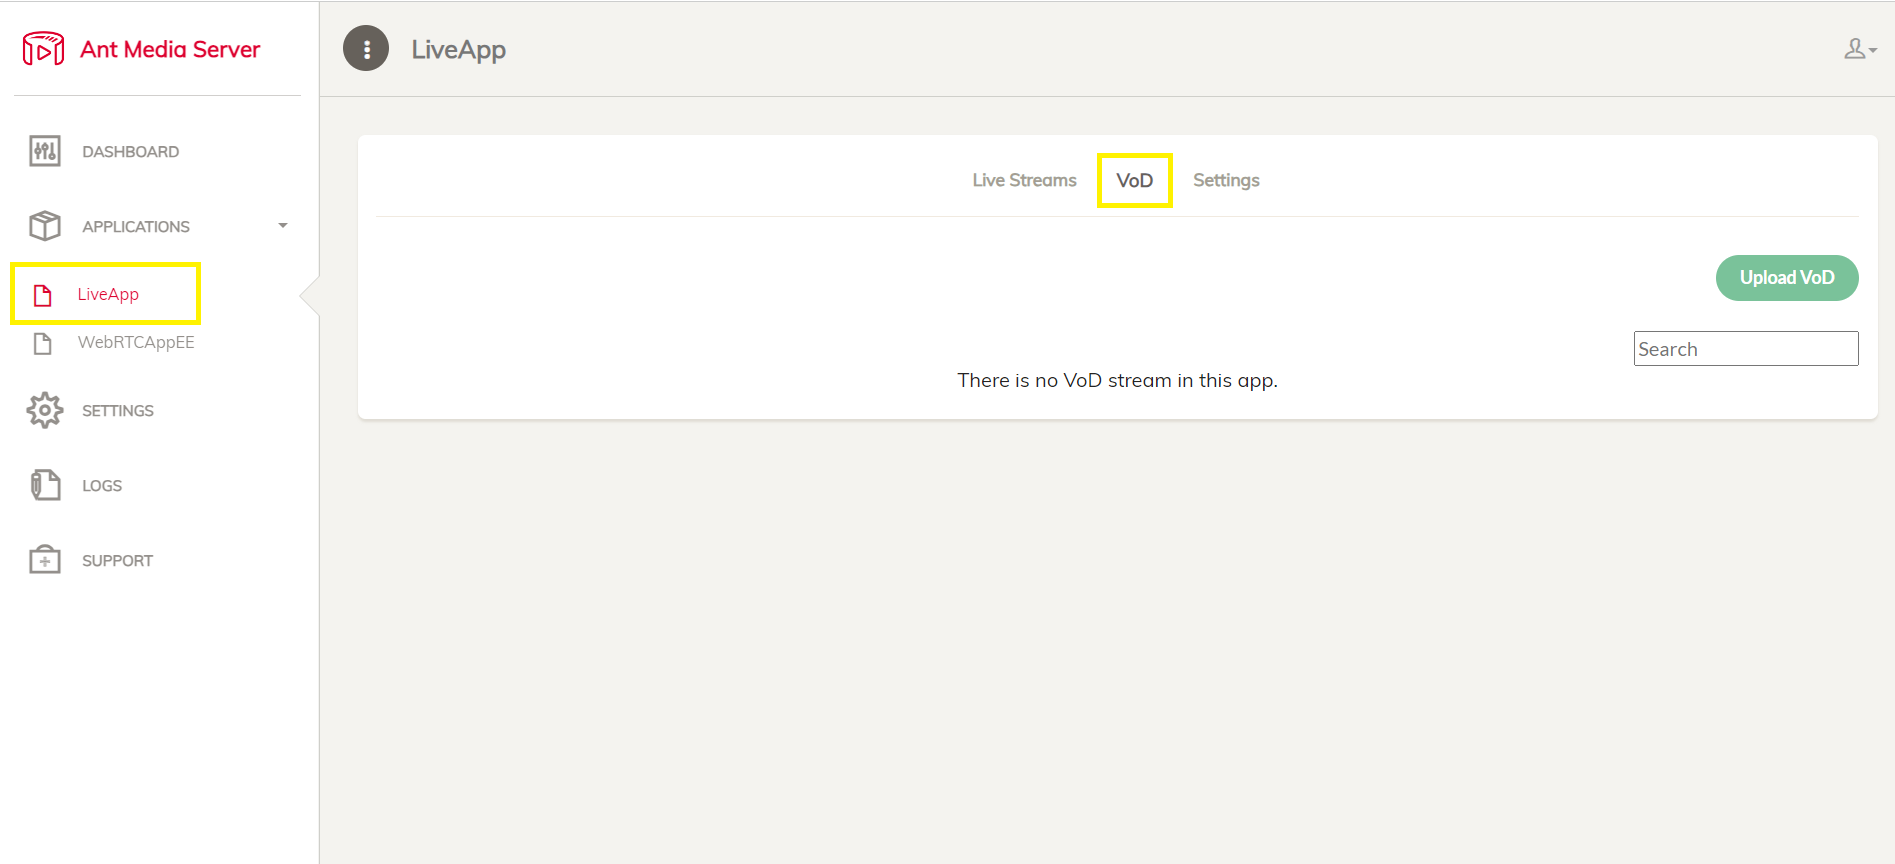
- Navigate to your preferred application from the left side. For this demonstration, we are using the LiveApp application.
- Once you are in the LiveApp application, go to the VoD section.
Uploading the VoD files
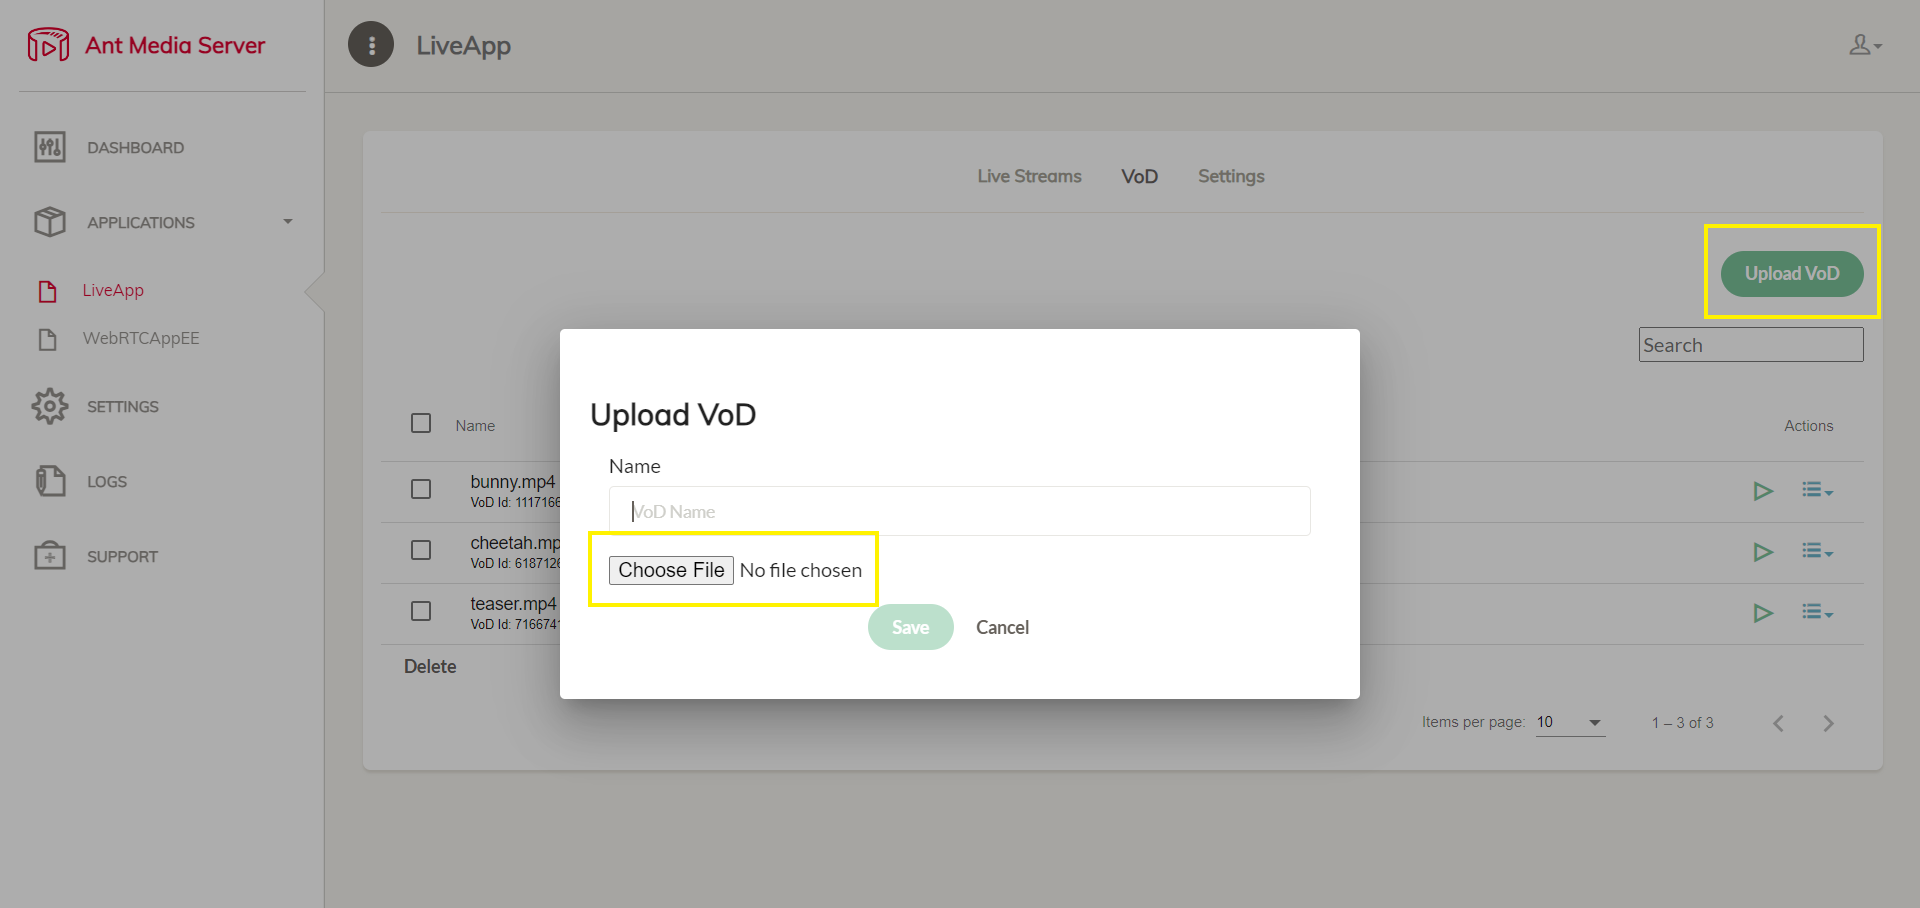
Now we can upload the VoD files that we want to stream with the playlist.
- Click on
Upload VoDtab and then click onChoose Fileto select the files you want to upload. For this demonstration, I will upload three VoD files.
Furthermore, uploading MP4 files to your Ant Media Server is optional. Ant Media Server can retrieve MP4 files from any location. You simply need to ensure that the file URL is accessible to AMS.
Creating the Playlist
Now that we have the VoD files ready, we will create the playlist with these VoD files as the playlist items.
Get the VoD URL
- The sample path of a VoD file is like
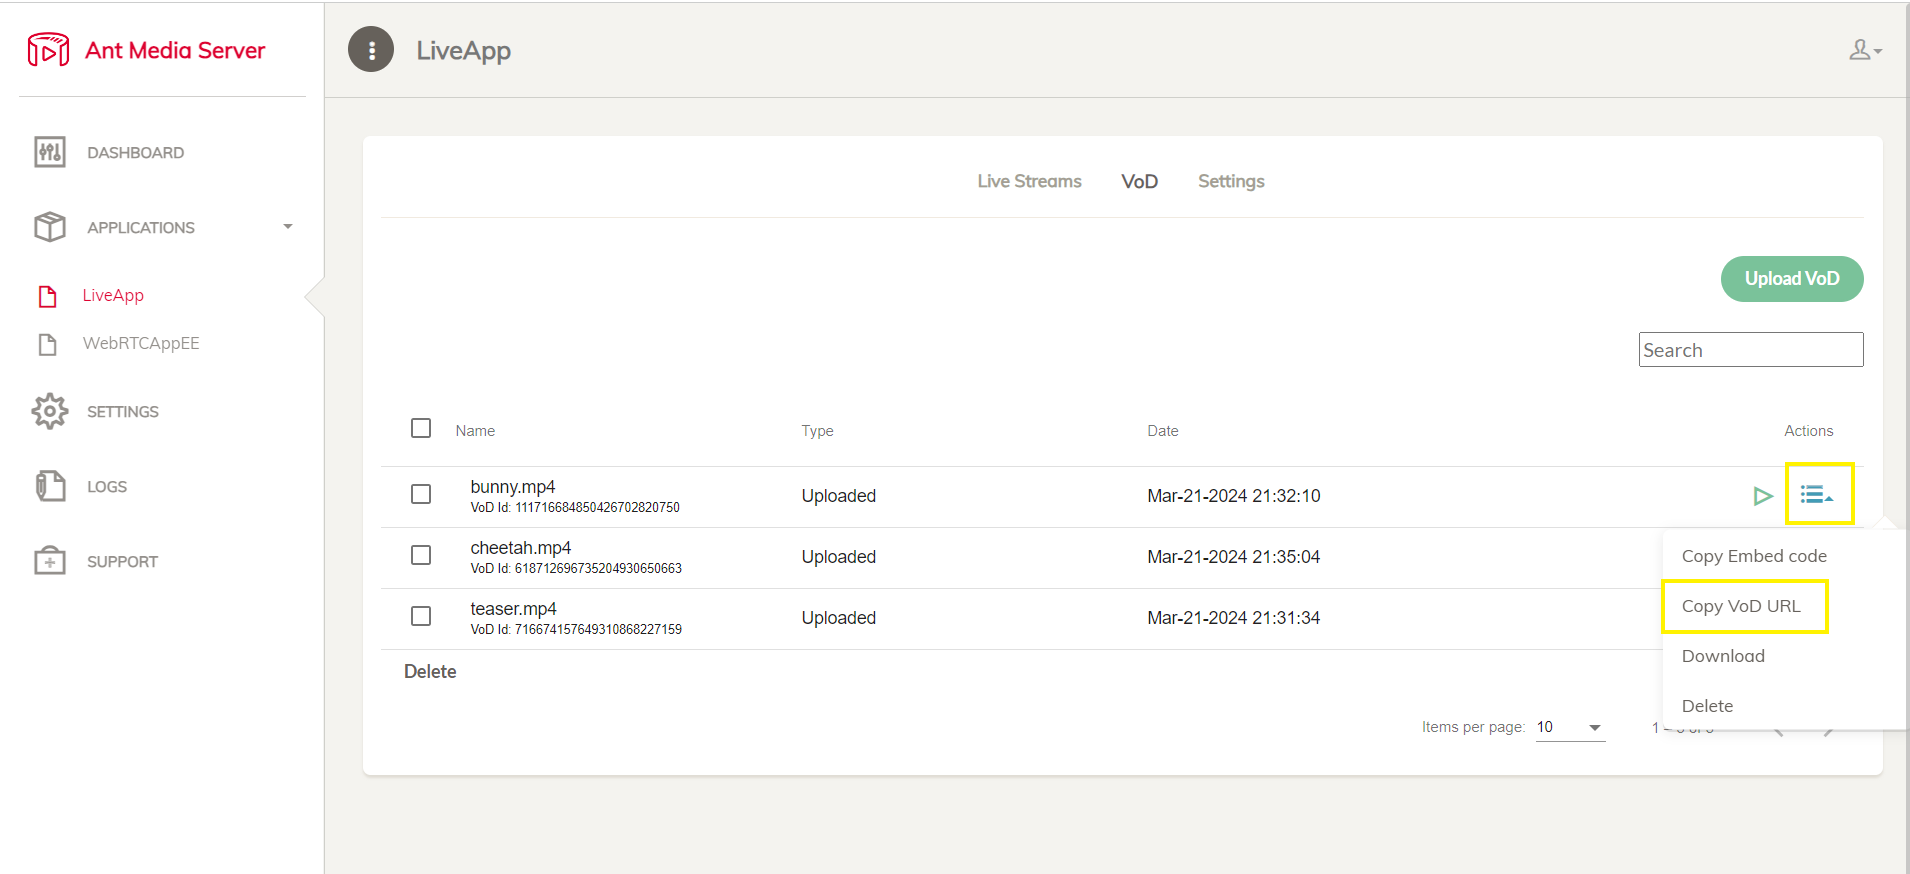
http(s)://ams-server-urlPort/LiveApp/streams/vod_id.mp4 - In order to get the VOD URL, click on the hamburger icon, which is located at the right side of the screen and then click
Copy VoD URL
- Now we have the VoDs accessible through the below links
http://13.201.79.224:5080/LiveApp/streams/111716684850426702820750.mp4
http://13.201.79.224:5080/LiveApp/streams/618712696735204930650663.mp4
http://13.201.79.224:5080/LiveApp/streams/716674157649310868227159.mp4
Let's create the Playlist
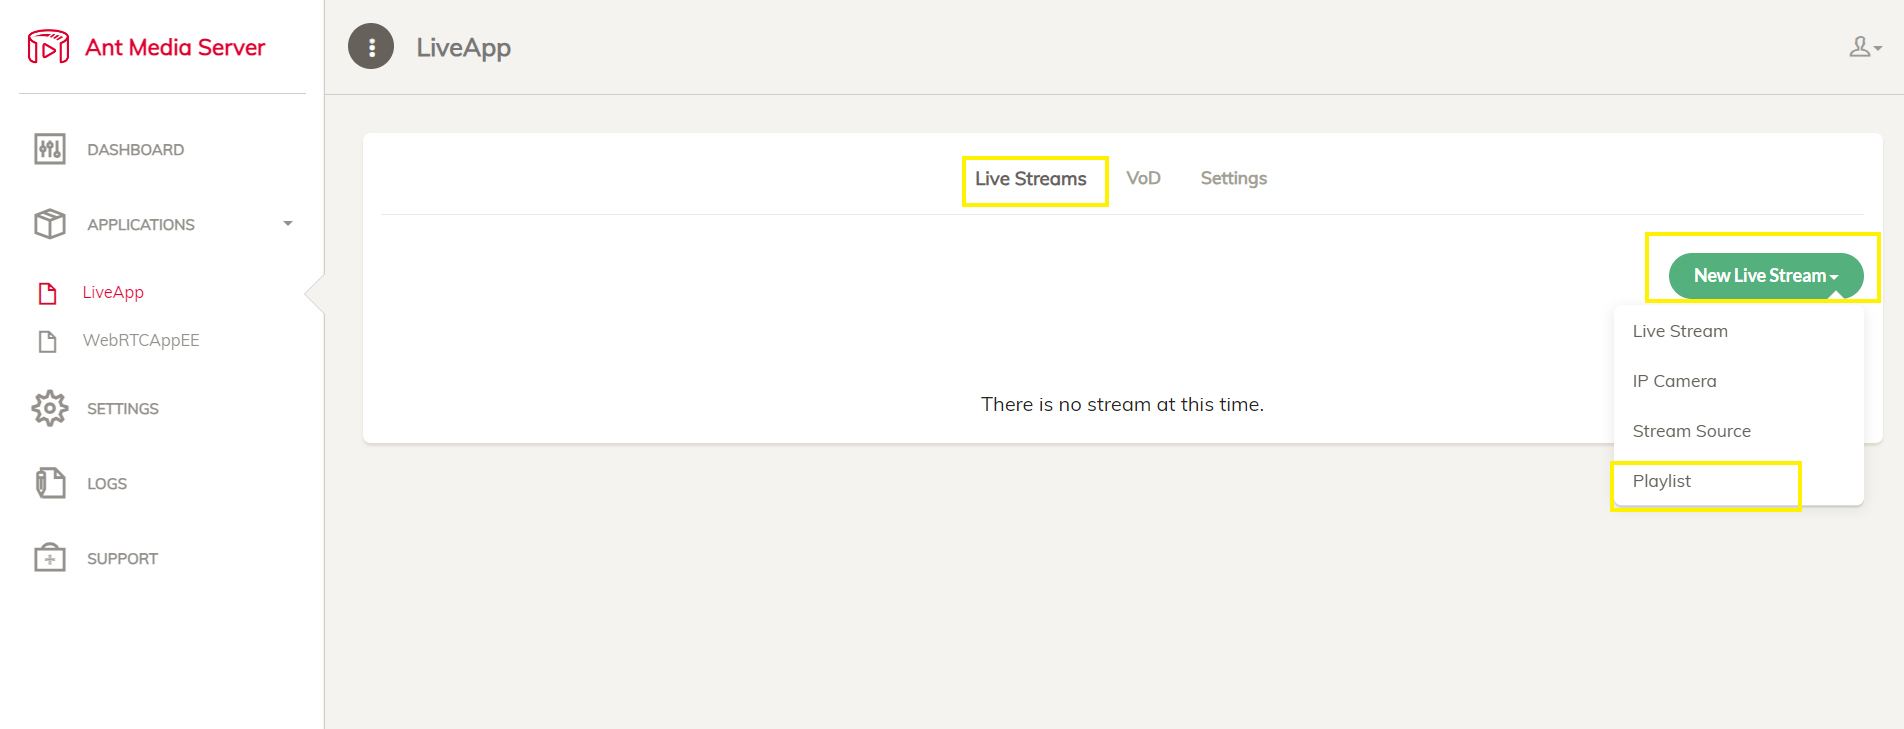
- Go to
Live Streamssection, and click onNew Live Streamand then selectPlaylistfrom the drop-down menu.
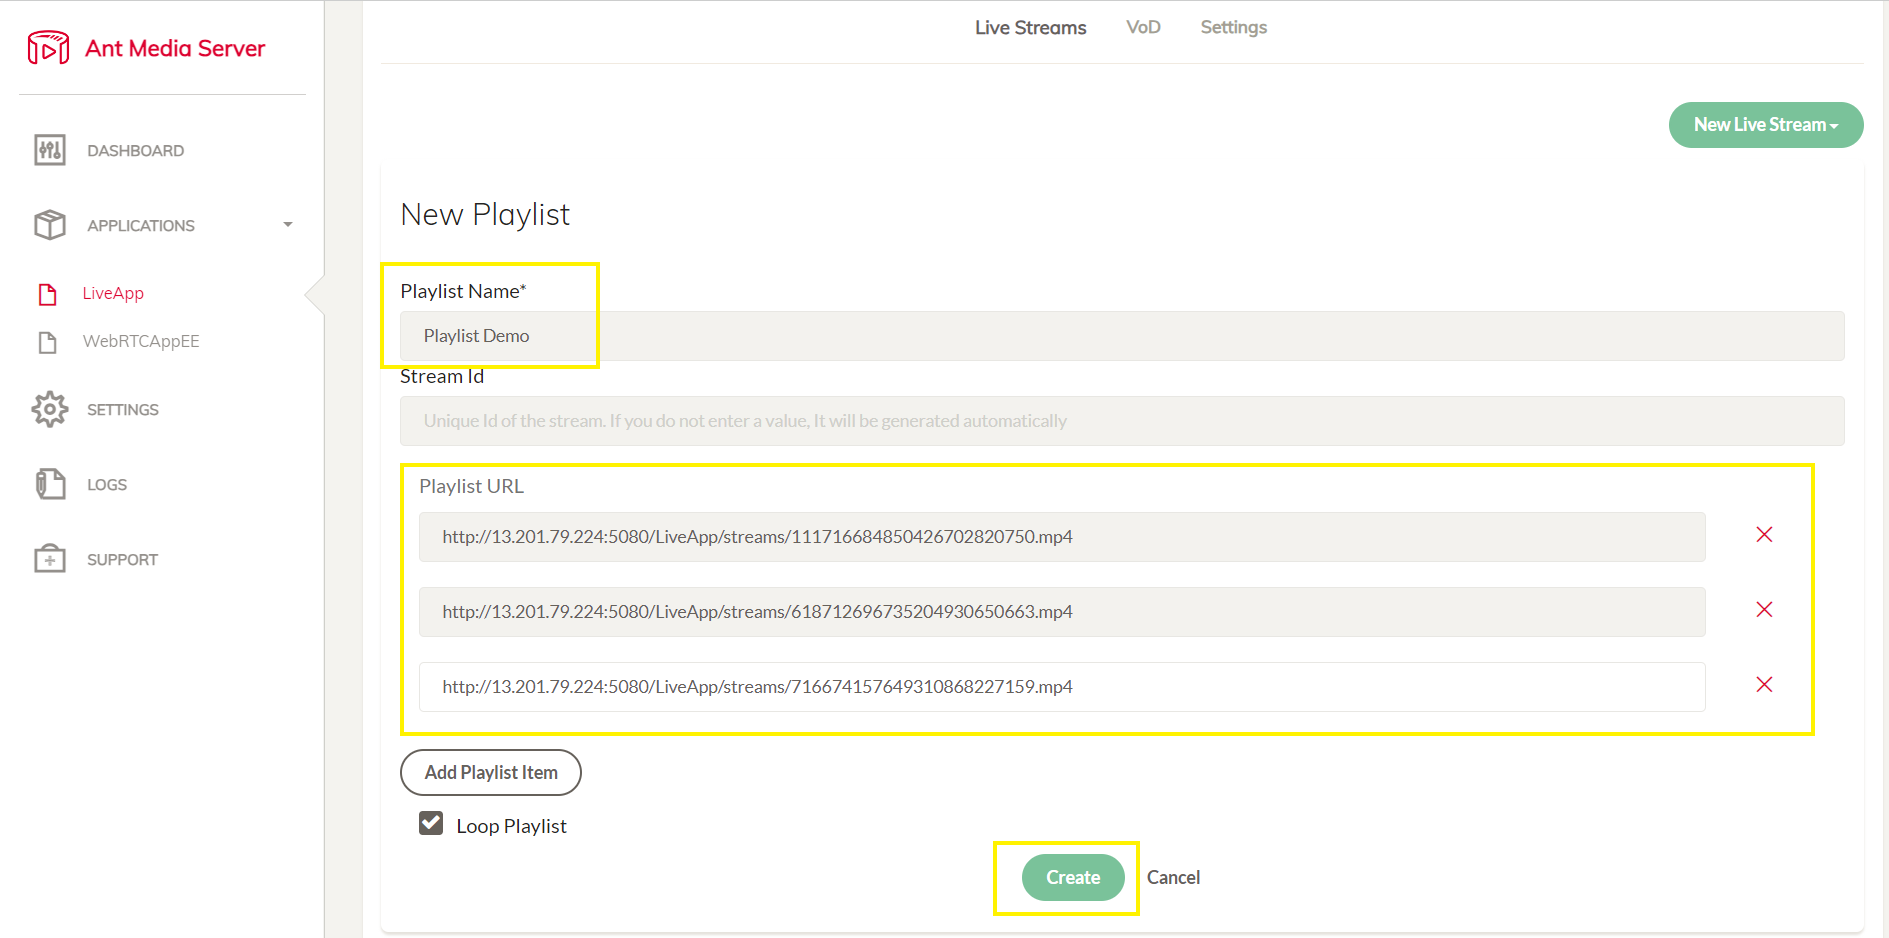
- Name your playlist, click on
Add Playlist Item, add all the playlist items and then clickCreate. - The
stream Idfield is not mandatory but you can put your own streamId.
-
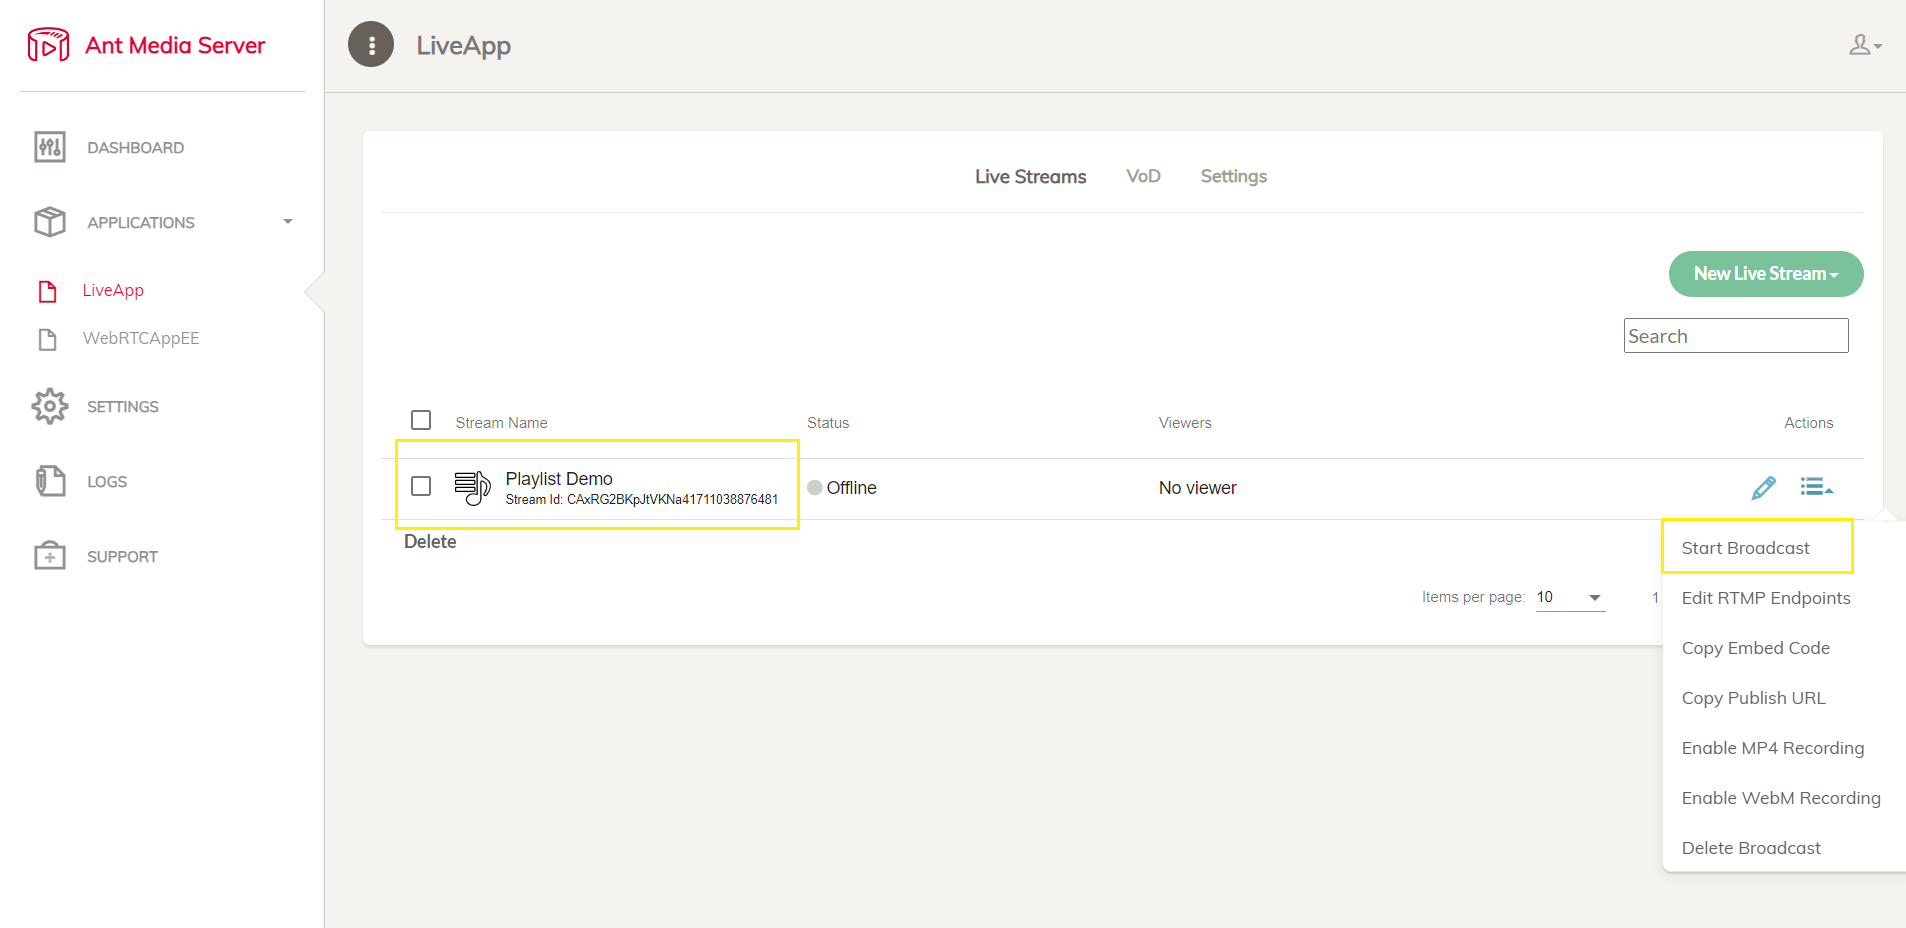
The playlist is created and it is offline by default.
-
Click on the
Start Broadcastto start streaming of the playlist.
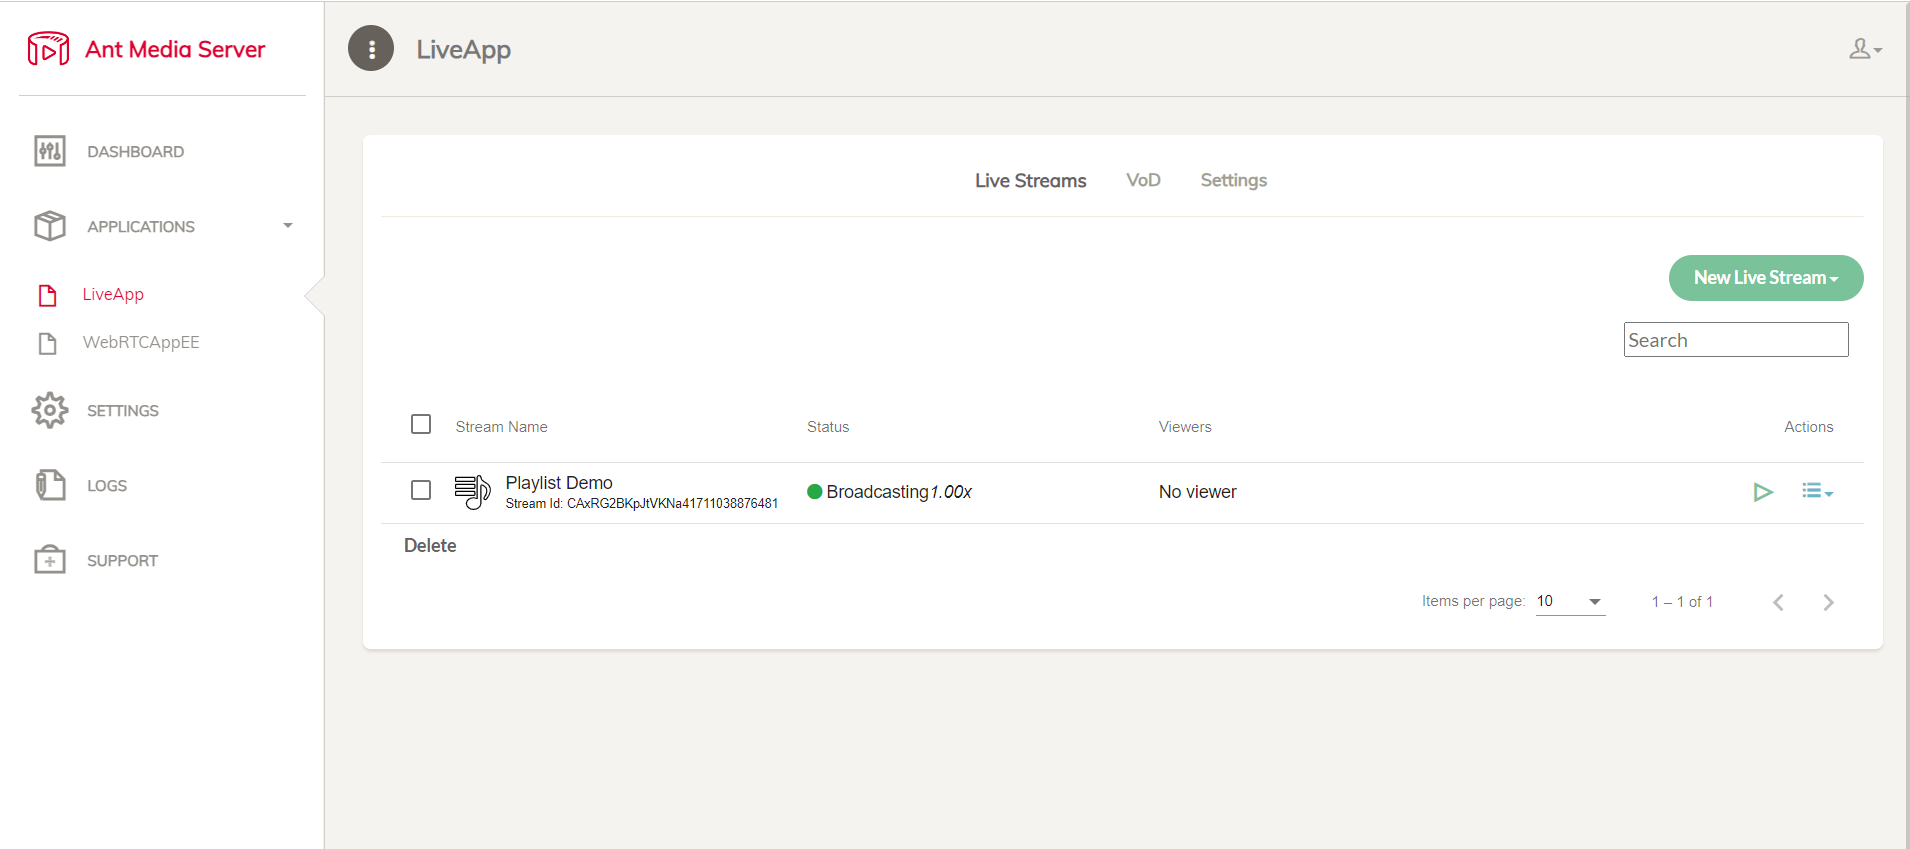
- Congratulations! The playlist is successfully created and running.
Optimizing Playlist for Better Playback Experience
Now that we have learned how to create a playlist, let's make some configurations to optimize the playlist for a better playback experience.
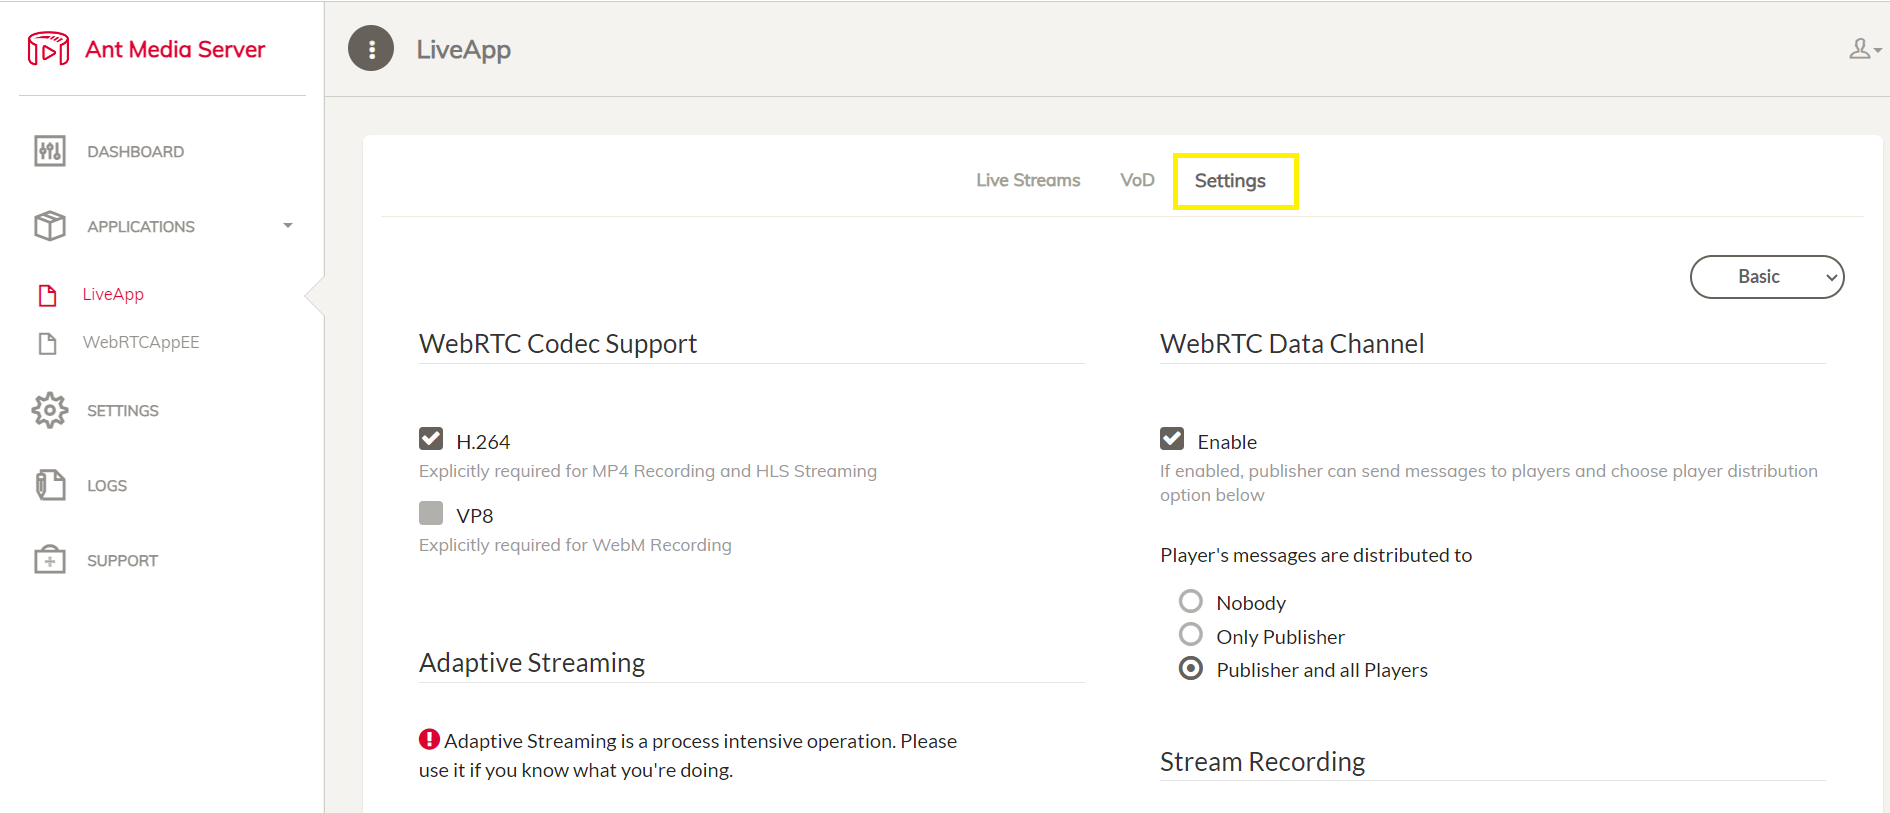
- Go to the
Settingssection of the application and scroll down.
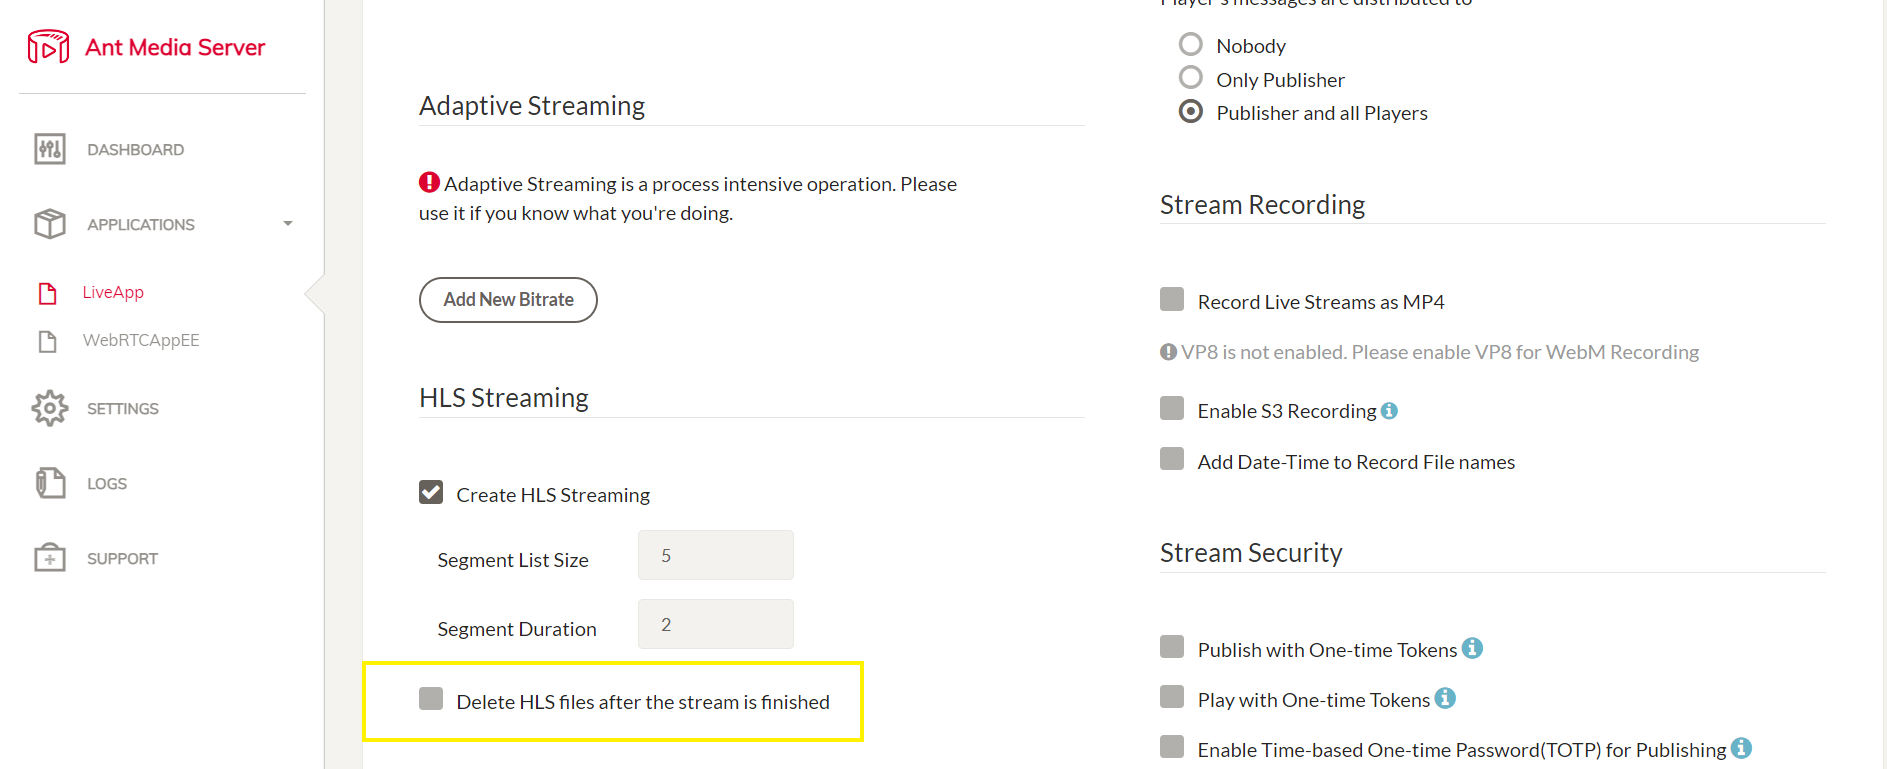
- Uncheck the
Delete HLS files after the stream is finishedas this setting will preserve the HLS files after the stream has ended.
-
Scroll to the bottom and Click
Savebutton to save the changes. -
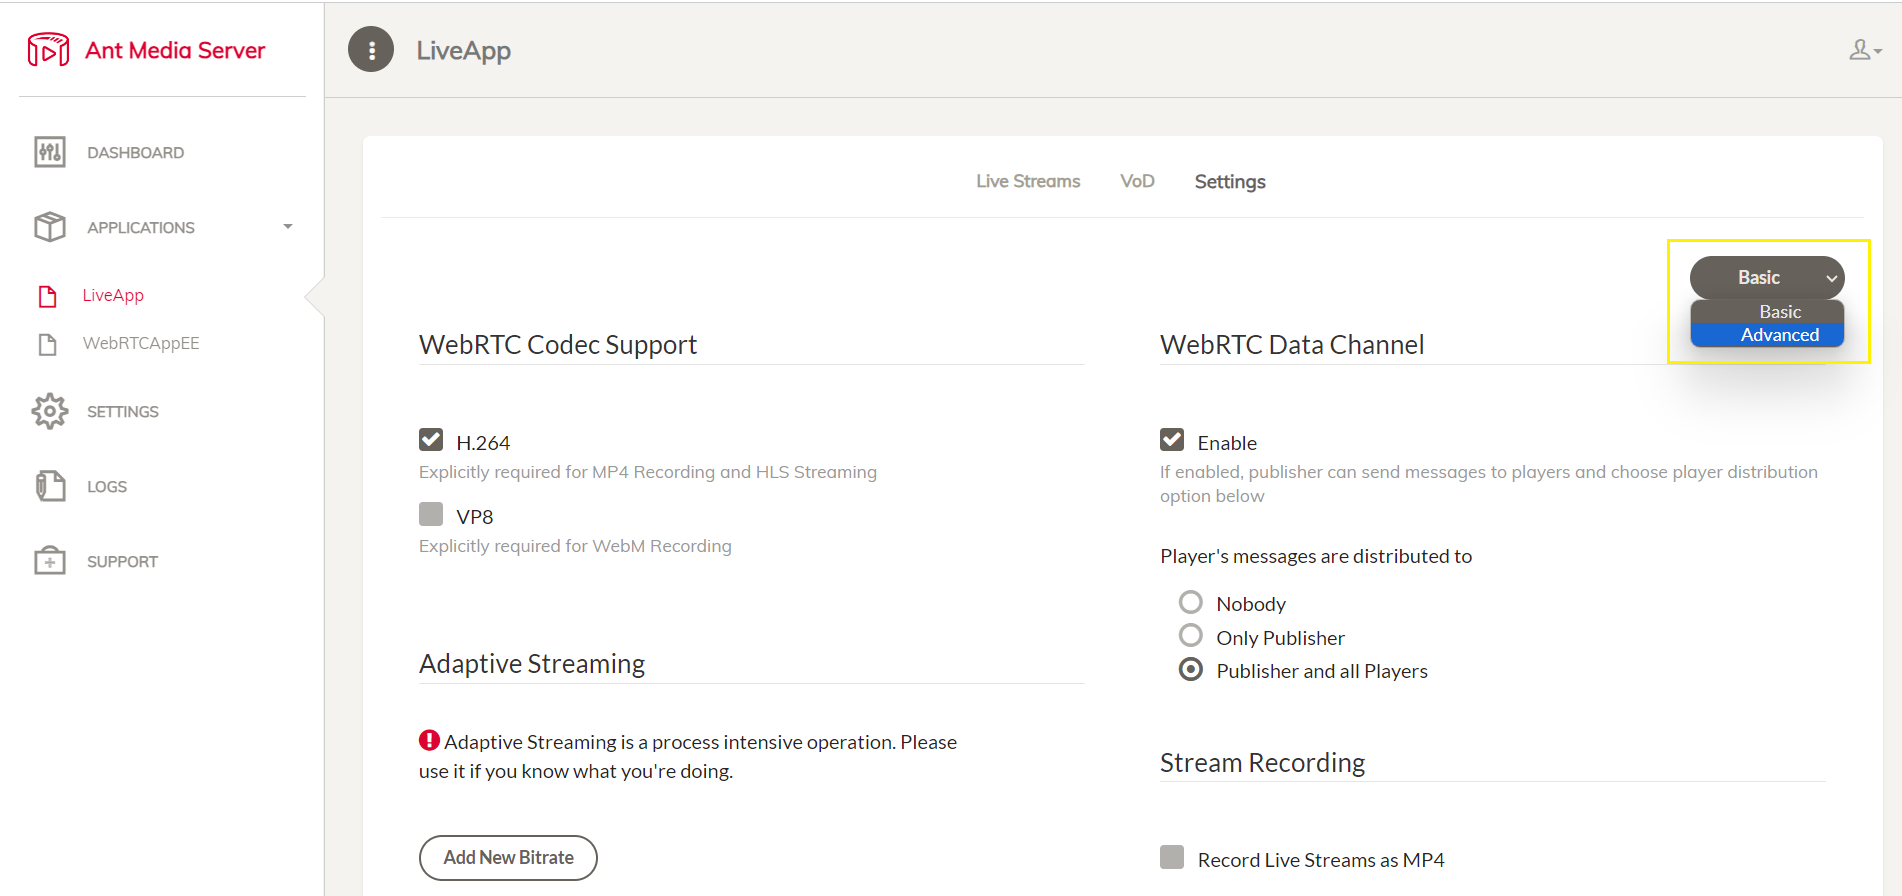
Scroll to the top and choose the settings mode from
BasictoAdvanced
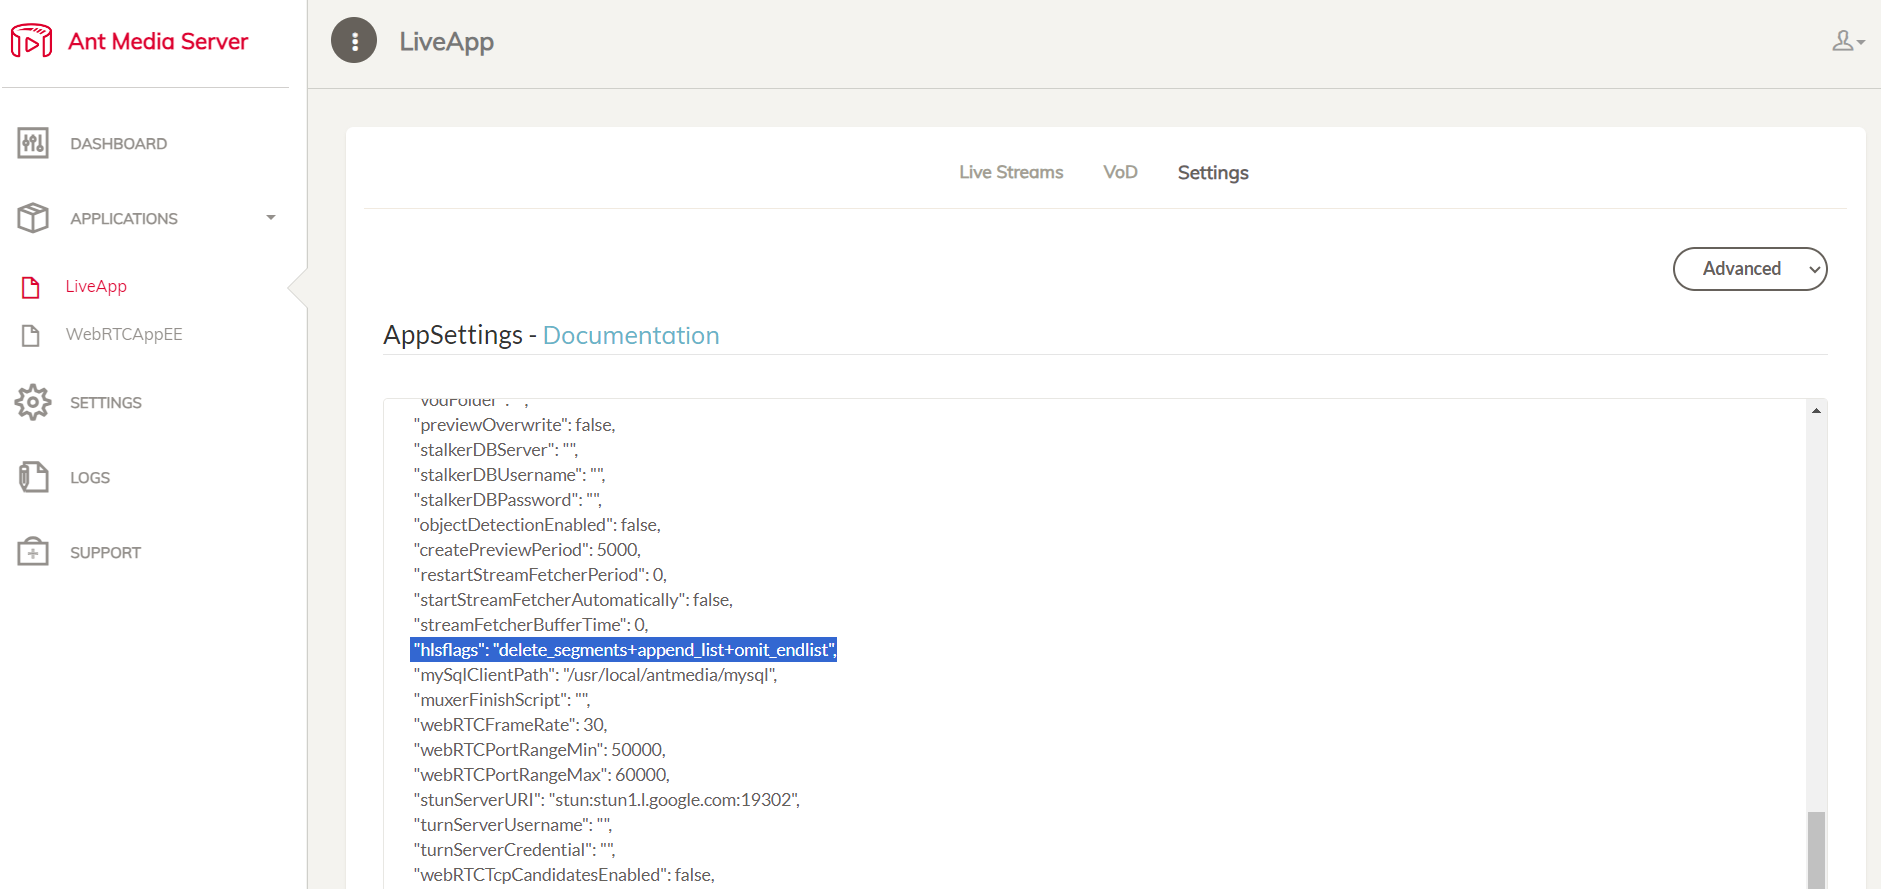
- Find
hlsflagsand change its value todelete_segments+append_list+omit_endlist
- Save the changes and start/restart the playlist to apply the changes.